Water Level Indicator: A Practical Guide to Building Your Own
Introduction:
In this article, we will explore the process of building a water level indicator. Having a means to monitor the water level in a tank or reservoir is incredibly useful, whether it's for domestic, agricultural, or industrial purposes. By following these step-by-step instructions, you can create your own water level indicator and ensure you never run out of water unexpectedly. So, let's dive in and discover how to make a water level indicator!
I. Understanding the Components
To start, it's important to grasp the essential components of a water level indicator. These typically include:
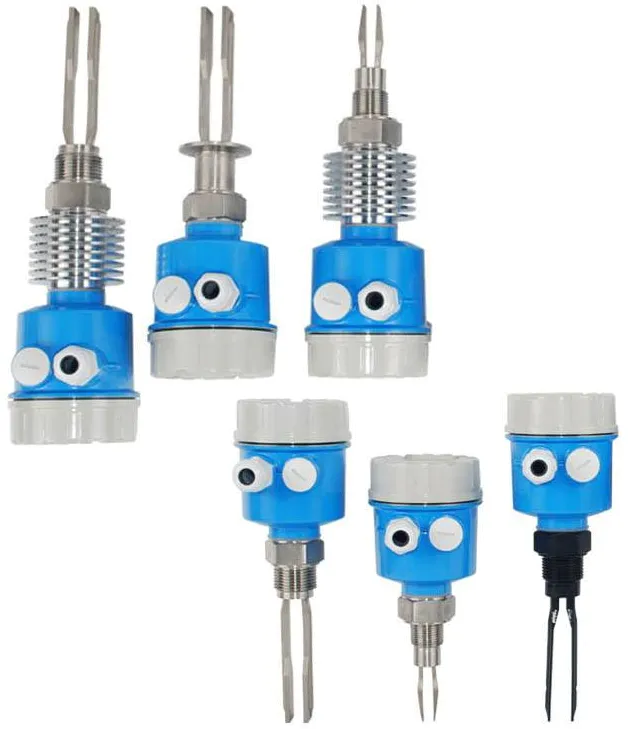
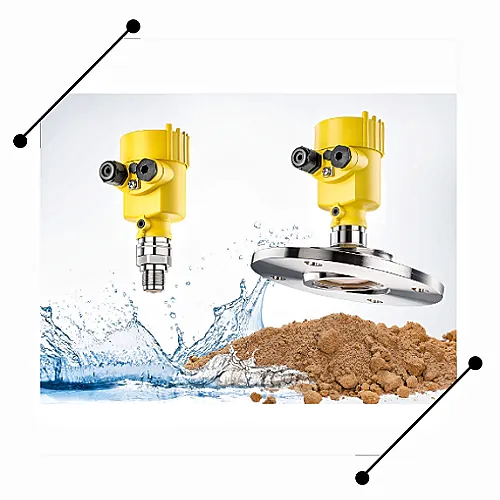
- Float switch: Detects changes in water levels.
- Controller: Processes the information received from the float switch.
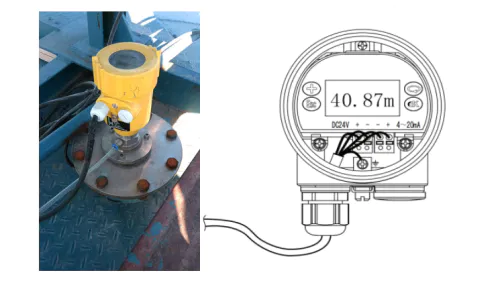
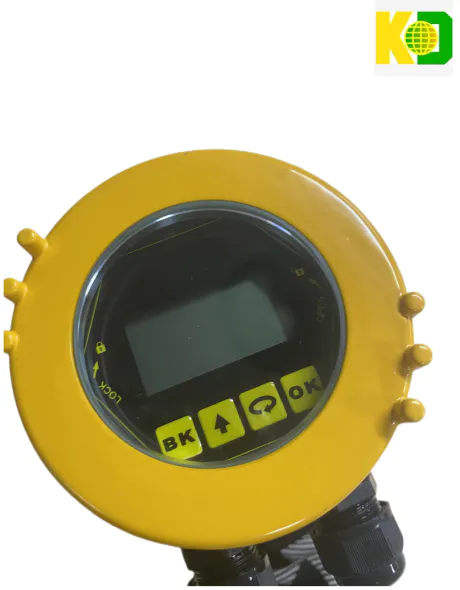
- Indicator: Displays the water level information in a user-friendly manner.
- Power supply: Provides the necessary energy for the water level indicator to function.
II. Materials Needed
Before getting started, make sure you have the following materials:
- Arduino board.
- 16x2 LCD display.
- Breadboard and jumper wires.
- Float switch or water level sensor.
- Resistors.
- Capacitors.
- Power supply (battery and adapter).
- Screwdriver and pliers.
- Soldering iron (if required).
III. Building the Circuit
1. Connecting the Float Switch:
- Connect the VCC and GND pins of the float switch to the +5V and GND pins of the Arduino, respectively.
- Connect the data pin of the float switch to digital pin 2 of the Arduino.
2. Connecting the LCD Display:
- Connect the VCC and GND pins of the display to the +5V and GND pins of the Arduino.
- Connect the SDA and SCL pins of the display to the A4 and A5 pins of the Arduino, respectively.
3. Adding Resistors and Capacitors:
- Connect a 10k resistor between VCC and the data pin of the float switch.
- Connect a 10F capacitor between the GND and data pins of the float switch.
- Connect a 10k resistor between VCC and the SDA pin of the LCD display.
- Connect a 10k resistor between VCC and the SCL pin of the LCD display.
4. Powering the Circuit:
- Connect the positive terminal of the battery to the VIN pin of the Arduino and the negative terminal to the GND pin.
IV. Writing the Code
1. Install the Arduino IDE and open a new sketch.
2. Define the necessary pin numbers and variables.
3. Set up the LCD display and initialize the float switch.
4. Write the code to read the water level using the float switch and display the information on the LCD display.
5. Upload the code to the Arduino board.
V. Testing and Calibration
Once you have built and uploaded the circuit, test it out:
1. Fill the tank or container with water.
2. Observe how the water level indicator responds on the LCD display.
3. Adjust and calibrate the code if necessary.
VI. Mounting the Water Level Indicator
Finally, you need to mount your water level indicator:
1. Choose a suitable location near the tank or reservoir.
2. Mount the LCD display at eye level and ensure it is easily visible.
3. Securely attach the float switch inside the tank or reservoir using appropriate fixtures.
4. Connect the power supply to the circuit and double-check the connections.
Conclusion:
Congratulations! You have successfully built your own water level indicator. Now you can effortlessly monitor the water levels in your tank or reservoir, helping you manage water usage more efficiently and avoid unforeseen water shortages. Remember, creativity and personalization are encouraged C feel free to modify the design, add alarms, or incorporate wireless transmission for remote monitoring. Keep exploring and applying this newfound knowledge to other exciting projects in the world of electronics!
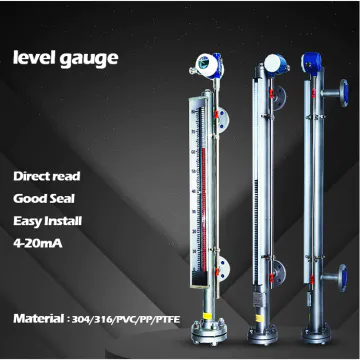
Guangdong Kaidi Energy Technology Co., Ltd. is different from other companies as we provide timely and unique services to our respected clients.
should only be created by the very best level gauge companies with the training, experience and know how about what is expected of them.
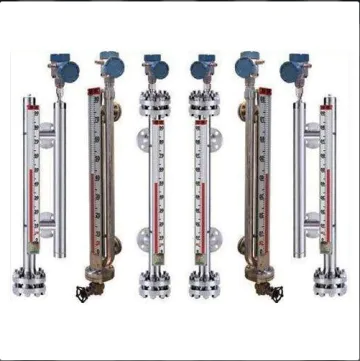
customized level indicator level gauge is slower than customized level indicator but has a number of special applications, such as for customized level indicator.
 Español
  pусский
  العربية
  Português