Español
  pусский
  العربية
  Português

Christmas Wishes / Warm Words from the Heart-KAIDI
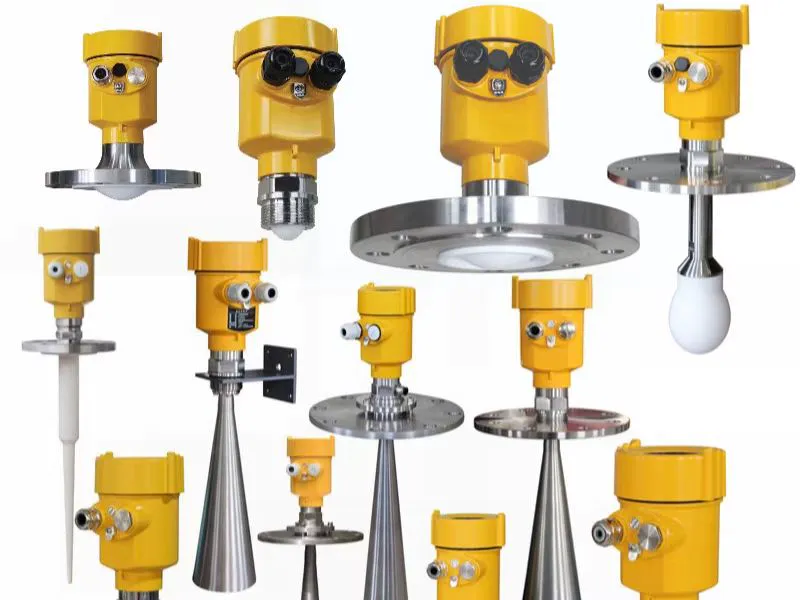
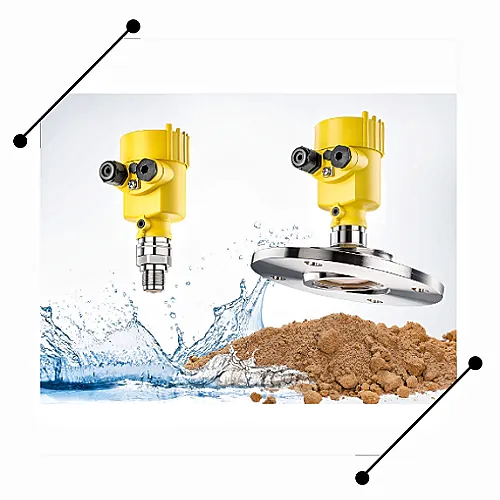
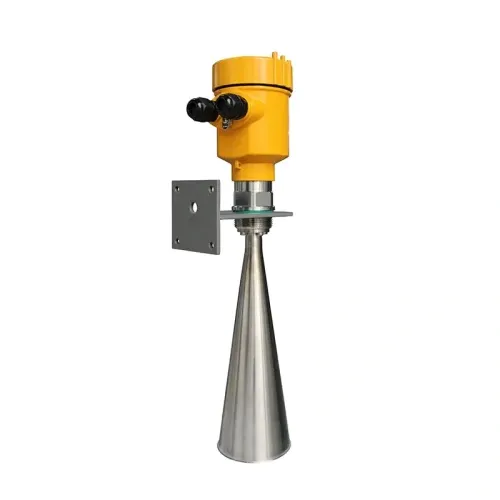
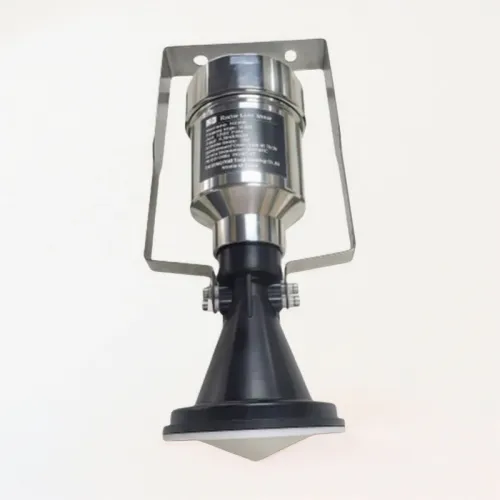
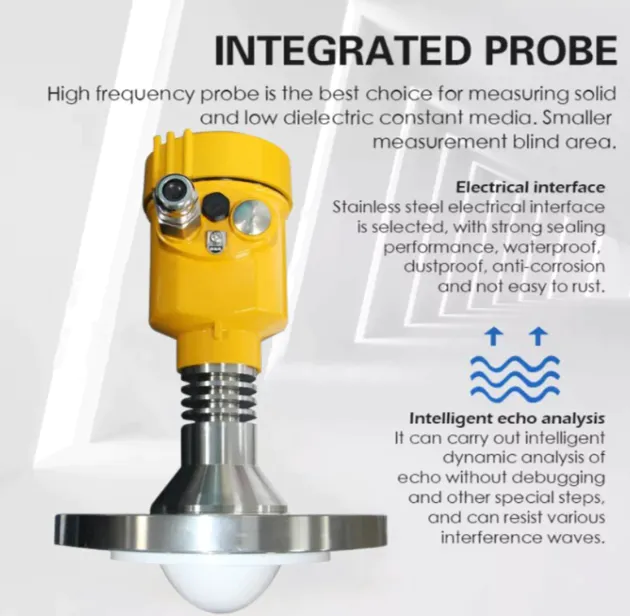
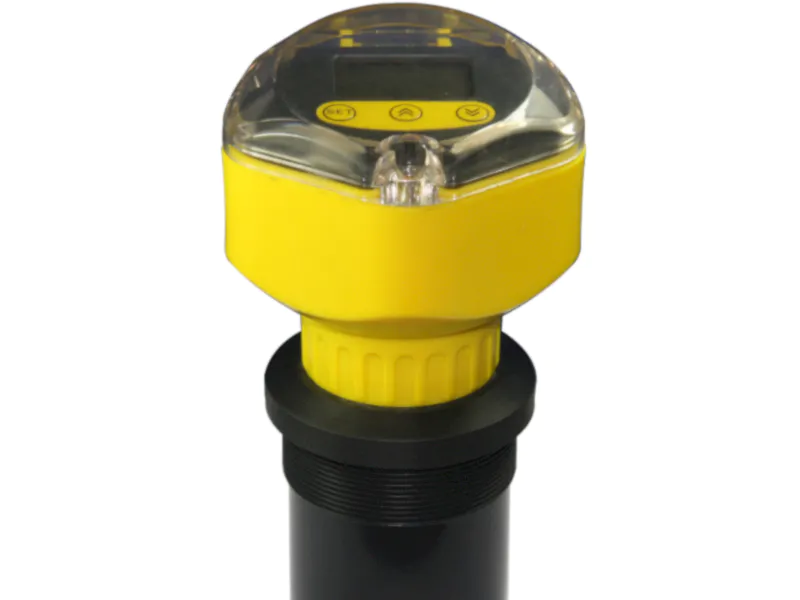
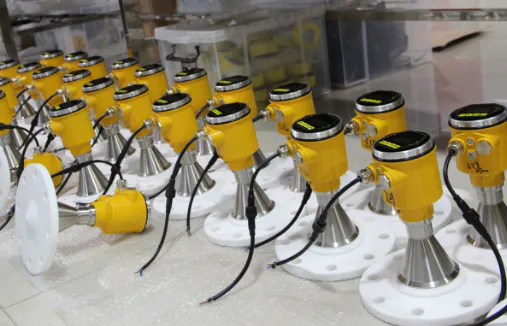
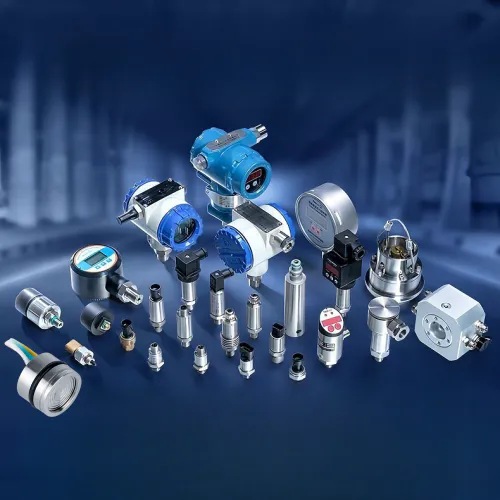
Kaidi Sensors Specialized in industrial level measuring instruments for >20 years, serving more than 20 countries.
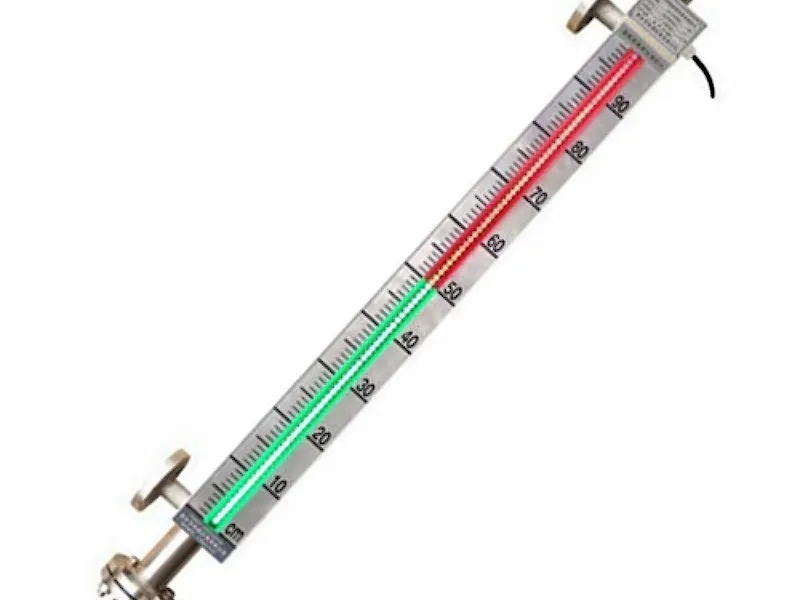
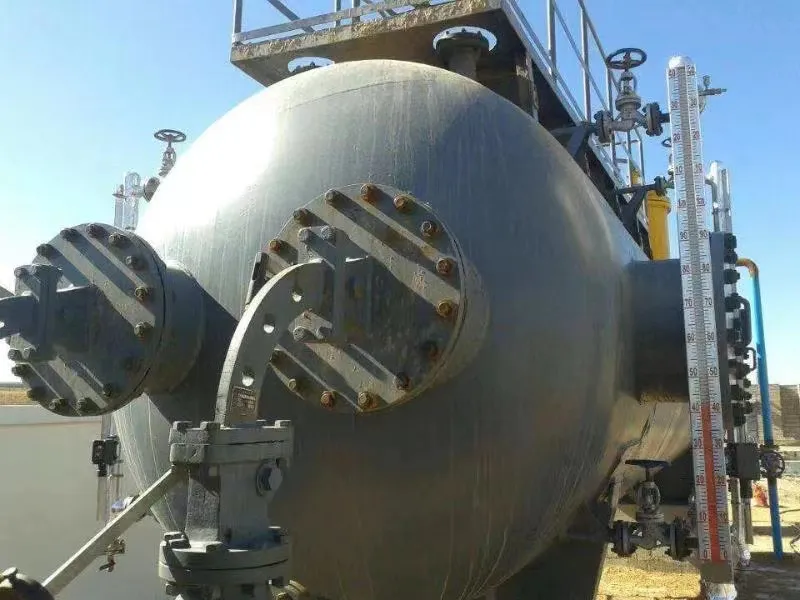
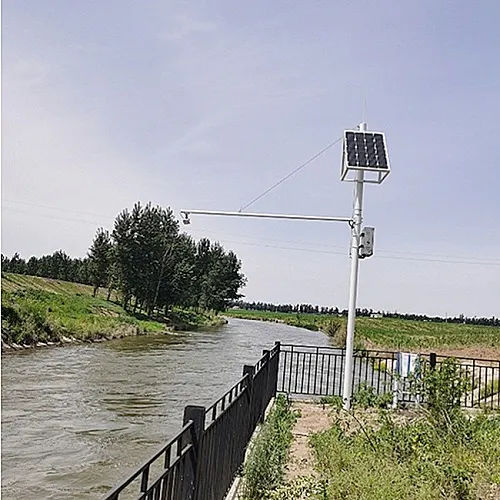
A liquid level indicator is a useful device that helps in monitoring and controlling the level of liquid in a container. Whether you have a water tank, oil reservoir, or chemical drum, having a reliable liquid level indicator can prevent overflows and ensure efficient usage. In this article, we will guide you on how to make a liquid level indicator using simple components. From understanding the basic principles to assembling the indicator, we've got you covered. So, let's dive in and create your own liquid level indicator!
1. Introduction to Liquid Level Indicators
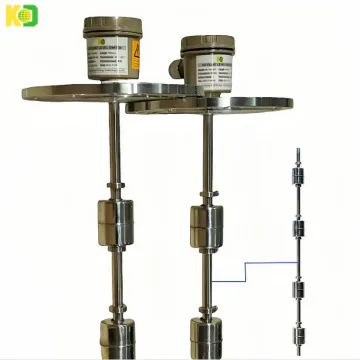
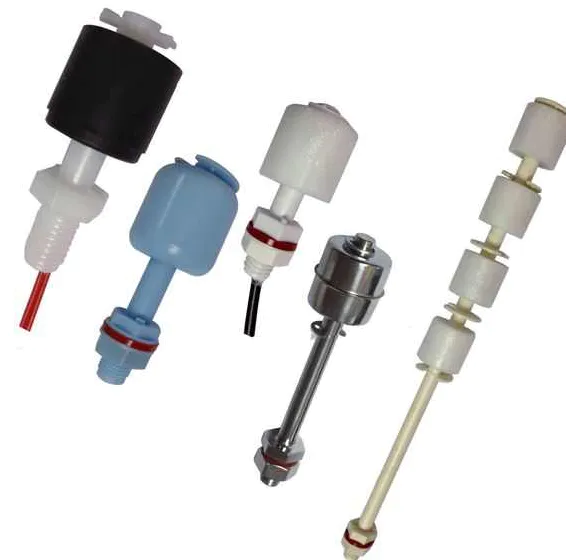
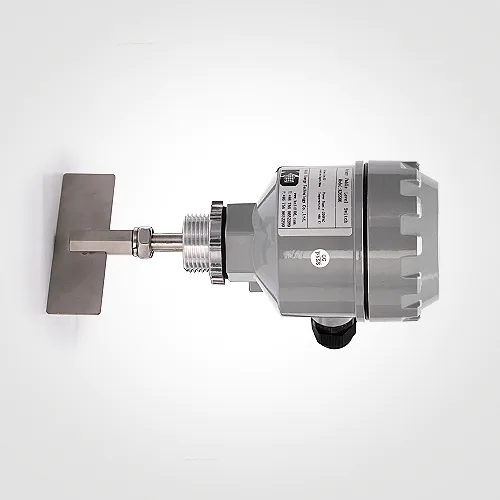
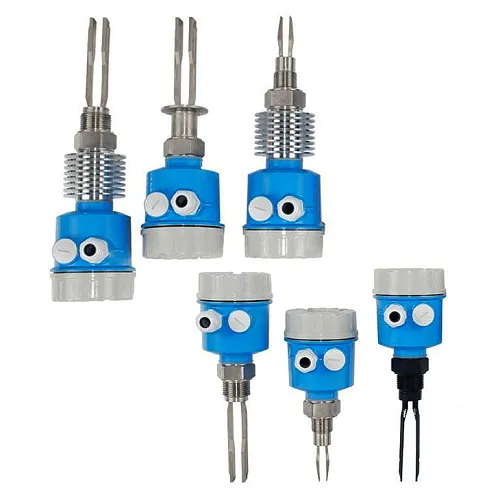
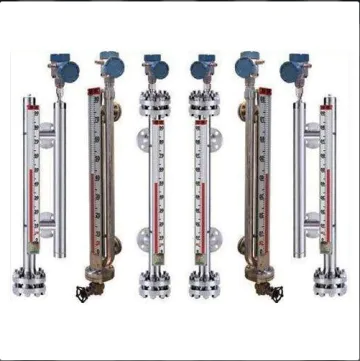
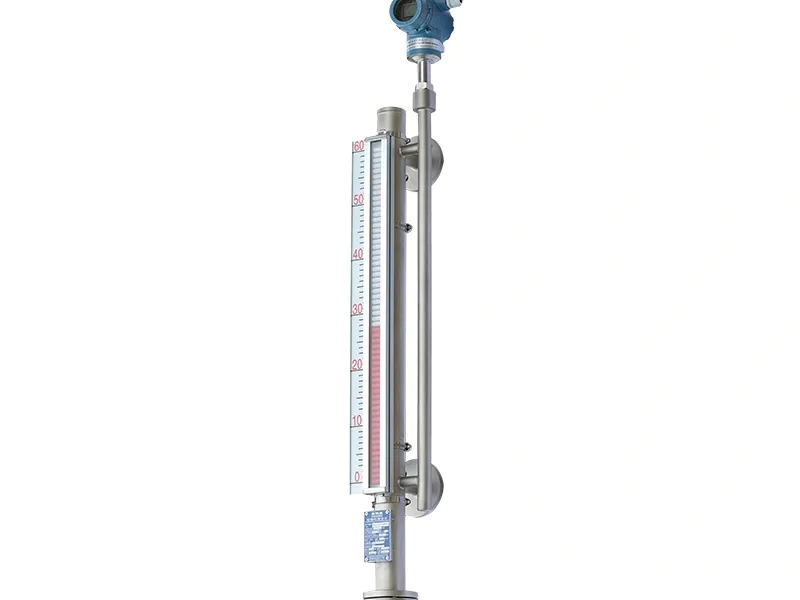
Before we start building a liquid level indicator, it is essential to have an understanding of how it works. A basic liquid level indicator consists of a sensing component and an output component. The sensing component detects the liquid level, while the output component provides a visual or auditory indication. This type of indicator can be as simple as a floating bobber or as complex as an electronic system. In our DIY project, we will be using a simple design involving a float and a switch.
2. Required Components for a DIY Liquid Level Indicator
To build a liquid level indicator, gather the following components:
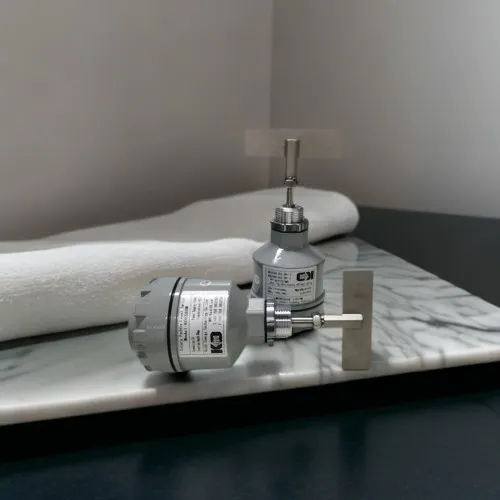
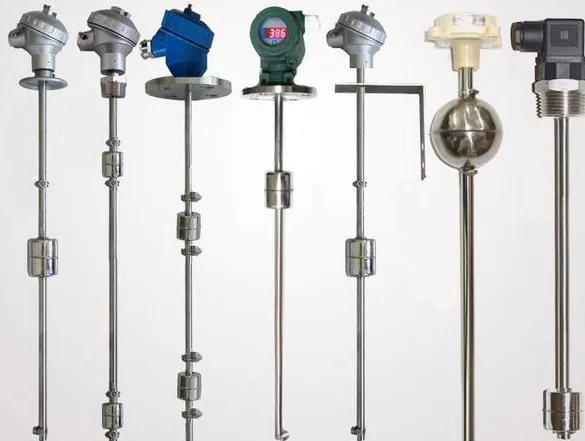
a) A plastic float: Choose a plastic float that is resistant to corrosion and can withstand the liquid you intend to monitor. The size of the float depends on the size of your container and the desired sensitivity.
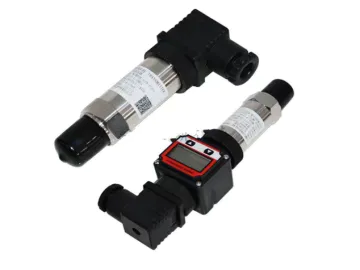
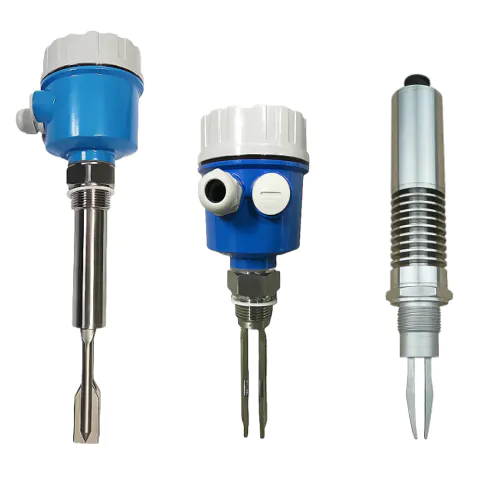
b) Microswitch: A microswitch is an electrical switch that is activated by mechanical force. It will act as the output component of our liquid level indicator.
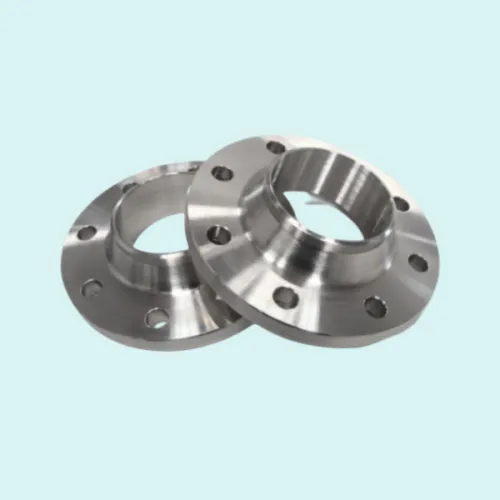
c) Mounting bracket: You'll need a bracket to secure the microswitch in place. This can be made from a small piece of plastic or metal.
d) Wires and connectors: To connect the microswitch to an external circuit, you will need wires and connectors. Use insulated wires of appropriate gauge to handle the current.
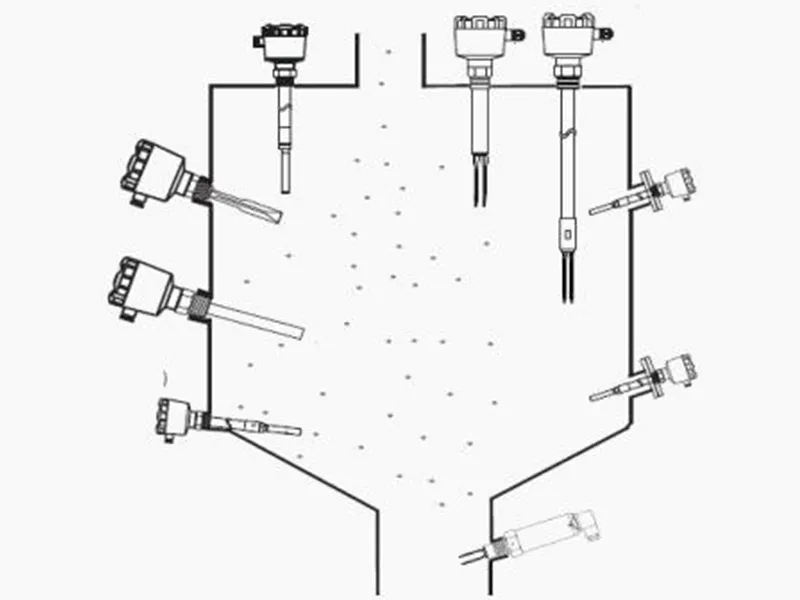
3. Designing the Liquid Level Detection Mechanism
Now, let's move on to designing the liquid level detection mechanism. Attach the float to the microswitch so that it triggers the switch when the liquid level reaches a particular point. This can be achieved by connecting the float to the lever of the microswitch using a linkage mechanism. Make sure the linkage is sturdy and allows free movement of the float.
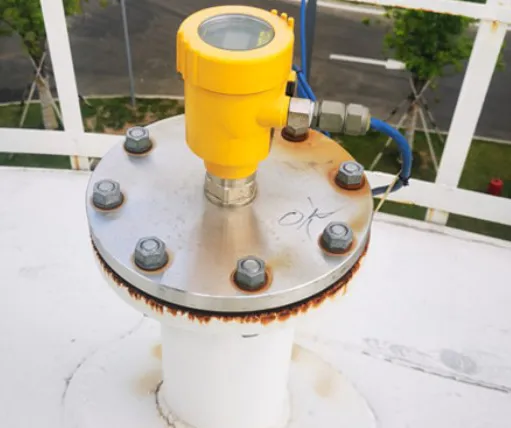
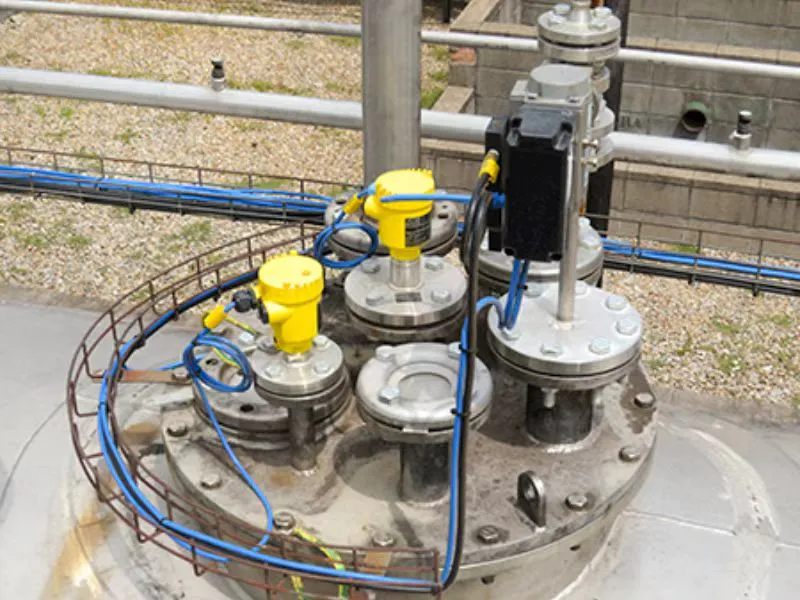
4. Installing the Liquid Level Indicator
With the detector mechanism ready, you can now install the liquid level indicator in your container. Determine the appropriate location for the indicator, keeping in mind the maximum and minimum levels you want to monitor. Drill or cut an opening for the float assembly and ensure it fits securely.
5. Wiring the Liquid Level Indicator
Now, it's time to connect the microswitch to an external circuit, which will provide the visual or auditory indication. Take the wires and connect the common terminal of the microswitch to the positive terminal of the output circuit. Connect the normally open (NO) terminal to the negative terminal of the output circuit. This configuration allows the circuit to be completed when the switch is triggered by the float.
6. Testing and Calibrating the Liquid Level Indicator
Once the indicator is installed and wired, it's crucial to test and calibrate its functionality. Fill the container with the liquid and observe how the indicator responds to changing levels. Make any necessary adjustments to the linkage or switch positioning to ensure accurate detection. Conduct several test runs to ensure the indicator performs reliably and consistently.
Conclusion:
By following these steps, you can create a simple yet effective liquid level indicator for your containers. Remember, accurate monitoring of liquid levels is vital for efficient usage and preventing potential hazards. With your DIY liquid level indicator in place, you can have peace of mind, knowing that overflows and underfills will be a thing of the past. So go ahead, gather the necessary components, and start building your liquid level indicator today!
We are here to help you! If you close the chatbox, you will automatically receive a response from us via email. Please be sure to leave your contact details so that we can better assist