Water Level Indicator: A Practical Guide to Building Your Own
Understanding the Importance of Water Level Indicators
Water is a precious resource that we rely on for countless activities in our daily lives. Whether it's for drinking, cooking, bathing, or irrigation, having a sufficient water supply is crucial. To efficiently manage and monitor water levels, a water level indicator becomes an invaluable tool. In this article, we will delve into the details of creating your very own water level indicator. By doing so, you will gain a deeper understanding of water management and be able to conserve this valuable resource.
Gathering the Required Materials and Tools
Before embarking on any DIY project, it's important to gather the necessary materials and tools to ensure a smooth process. For building a water level indicator, you'll need a few essential items. These include submerged sensors, resistors, a microcontroller (such as an Arduino), an LCD display, jumper wires, a breadboard, and a power supply. Additionally, you'll need some basic tools like a soldering iron, wire cutters, and a screwdriver. Once you have these items ready, you can move on to the construction phase.
Constructing the Water Level Indicator Circuit
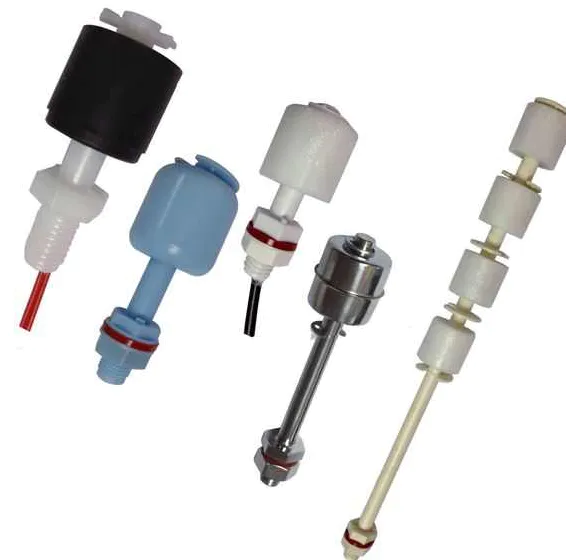
To create the water level indicator circuit, start by connecting the submerged sensors to the microcontroller using the jumper wires. These sensors can be placed at different heights in your water storage tank, allowing you to monitor multiple levels simultaneously. Next, connect the resistors in parallel with each sensor to ensure accurate readings. The microcontroller will measure the resistance from each sensor and convert it to water level readings that can be displayed on the LCD screen.
Programming the Microcontroller
Now that the hardware is set up, it's time to program the microcontroller to accurately interpret the data received from the sensors. If you're using an Arduino, you can utilize the Arduino Integrated Development Environment (IDE) for coding purposes. The programming code will involve setting up analog inputs to read the sensor values, converting these readings to corresponding water levels using mathematical formulas, and displaying the results on the LCD display. Various online resources and tutorials can guide you through this programming process.
Calibrating and Testing the Water Level Indicator
After the programming stage, it's crucial to calibrate and test your water level indicator to ensure its accuracy. Fill the water tank to its maximum level and note the corresponding readings displayed on the LCD. Repeat this process for different water levels to create a calibration curve or table. By comparing the measured values with the actual water levels, you can fine-tune your code and make any necessary adjustments. This calibration process will make your water level indicator more reliable and provide precise readings.
Installing and Maintaining the Water Level Indicator
Once the water level indicator is calibrated, it's time to install it in your desired water storage facility. Carefully position the submerged sensors at appropriate levels within the tank, ensuring they are securely fixed and can withstand water pressure. Place the microcontroller, LCD display, and power supply outside the tank, making sure they are adequately protected from moisture. Regularly check the system for any signs of damage or malfunction and promptly address any issues that arise.
Making Water Management a Breeze
By building your own water level indicator, you can take control of your water management efforts. By monitoring water levels in real-time, you can proactively address any potential shortages, leaks, or excessive consumption. This DIY project not only helps you conserve water but also fosters a sense of responsibility towards sustainable resource usage. With your water level indicator in place, you can confidently manage your water supply, promote environmental awareness, and contribute to a greener future.
In conclusion, constructing a water level indicator presents a practical solution to monitor water levels efficiently. With the right materials, tools, and programming knowledge, you can create a device that accurately measures and displays water levels. By actively monitoring your water usage, you contribute to the conservation of this precious resource and make informed decisions regarding its management. Start building your water level indicator today and play a crucial role in protecting the environment for generations to come.
For business owners unsure of how to effectively incorporate new technology into our level gauge, life may have just become a little easier.
If you would like to learn more about customized level indicator level gauge, and other types, please be sure to visit Kaidi level indicator. We can offer you top quality as well as cost saving price.
Knowing what promotions are popular and get the most activity as level gauge from current and potential customers can play a role in your overall strategy.
The proprietor has many years experience in providing promotion services and is a sought after expert in level gauge.
 Español
  pусский
  العربية
  Português