The
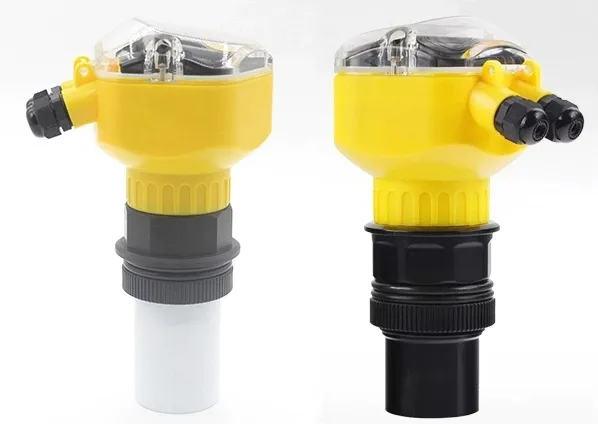
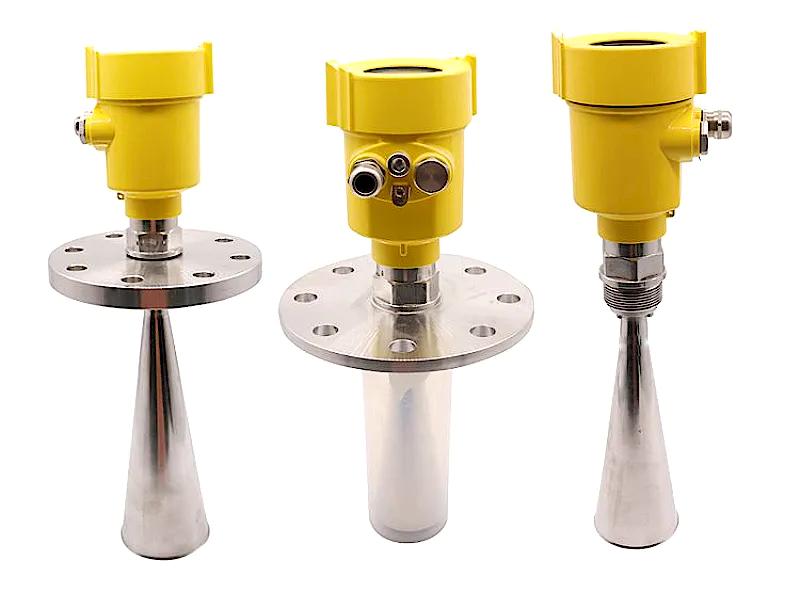
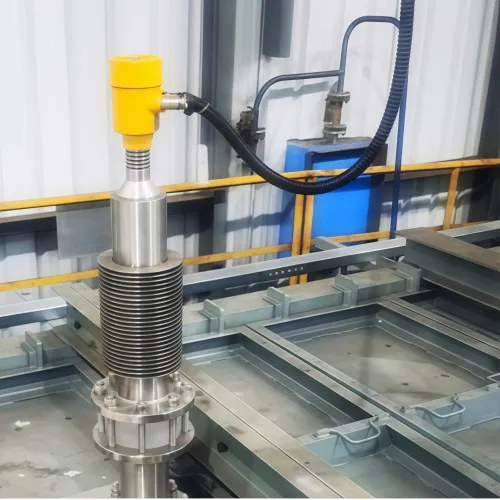
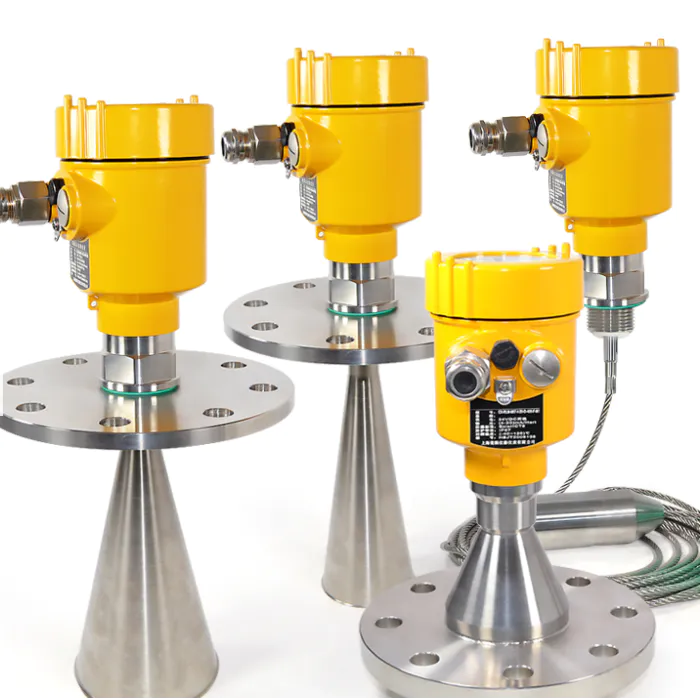
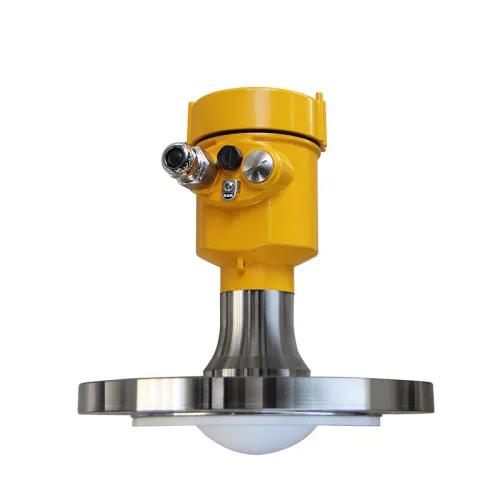
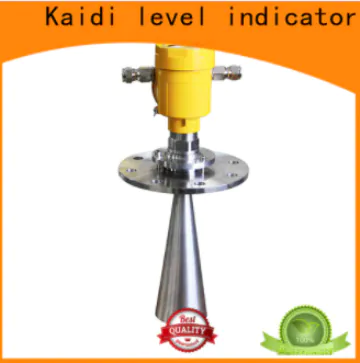
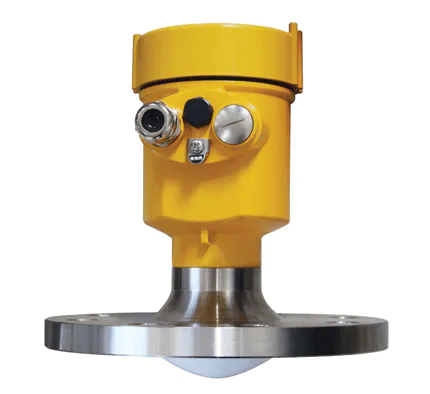
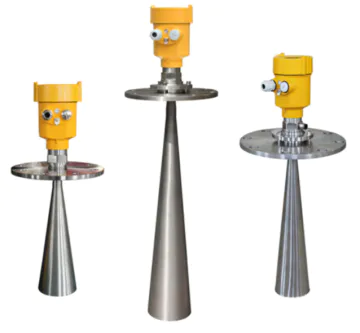
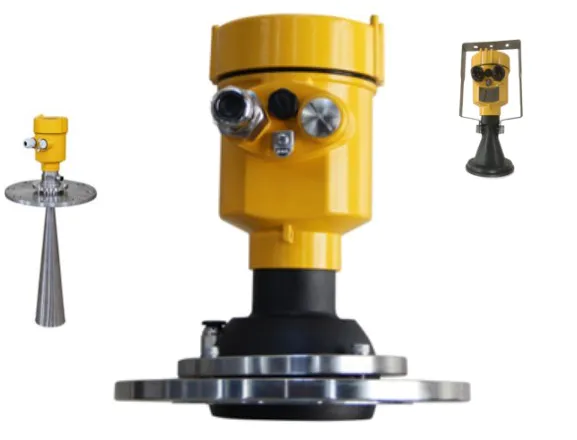
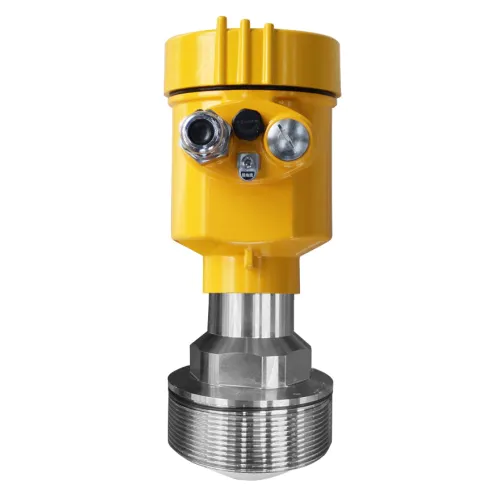
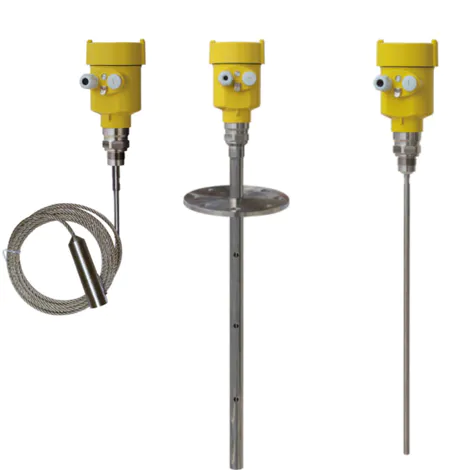
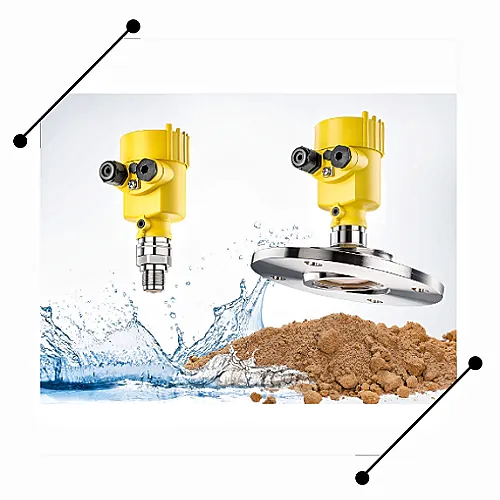
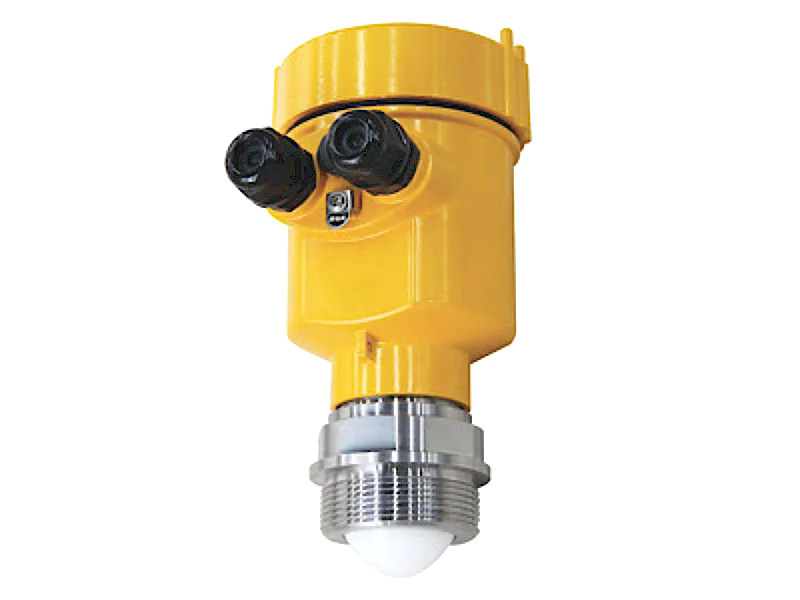
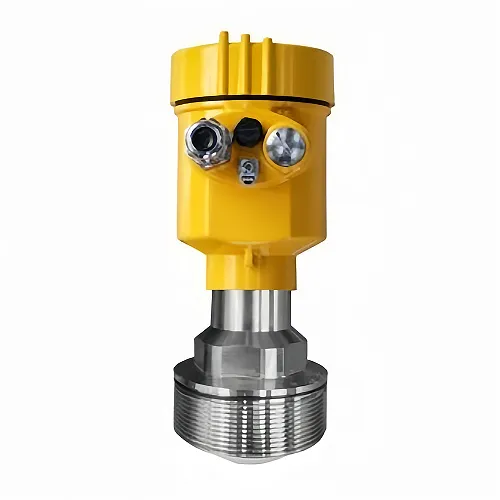
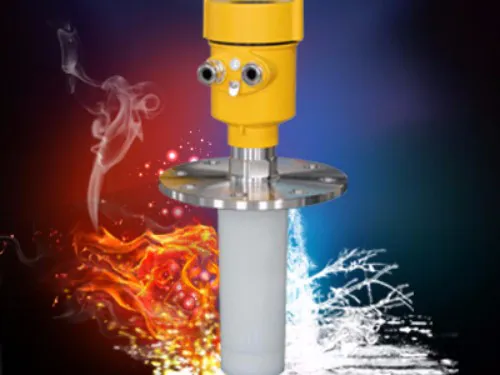
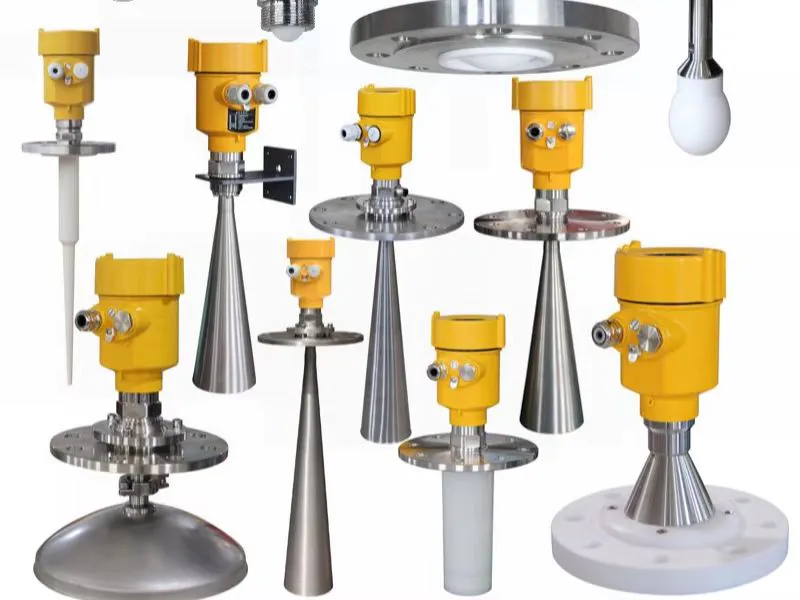
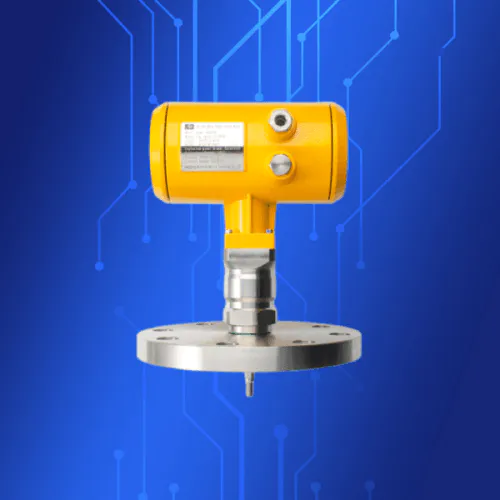
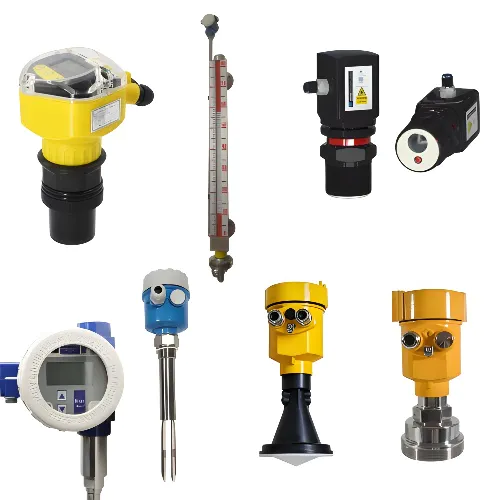
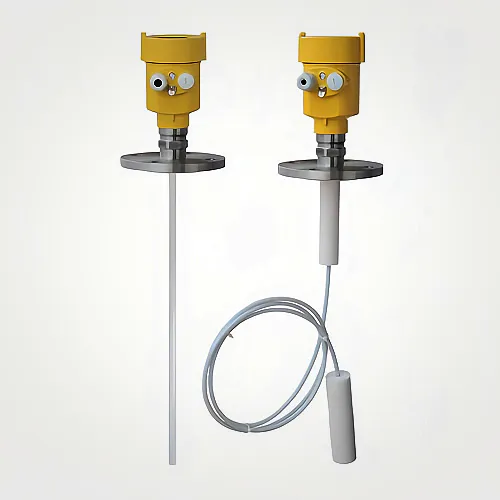
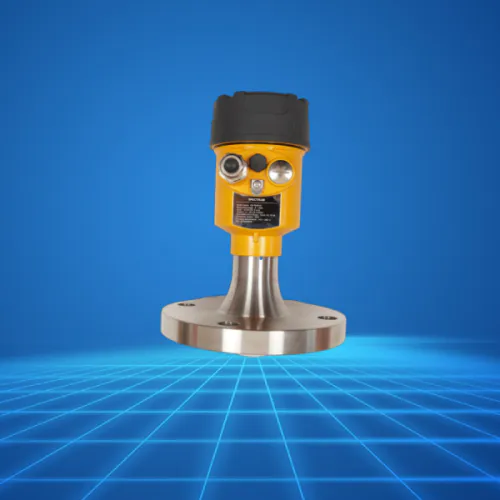
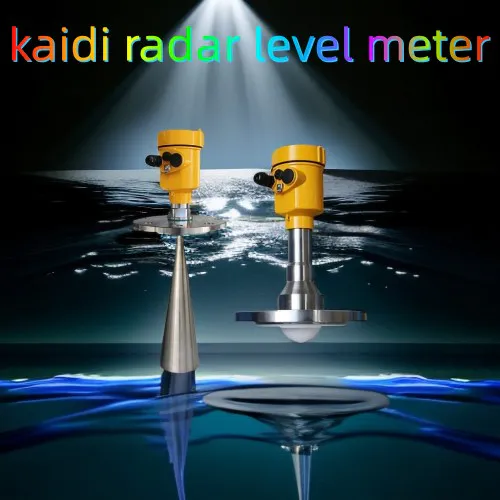
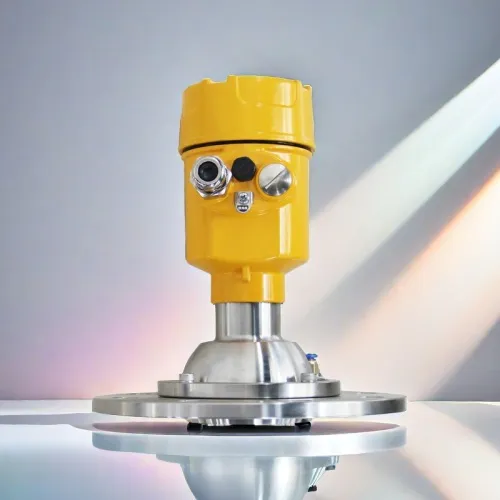
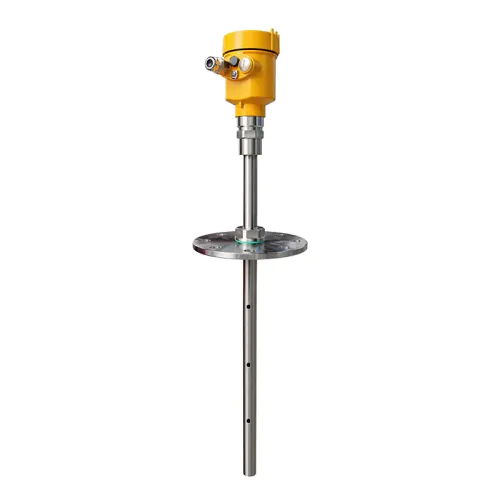
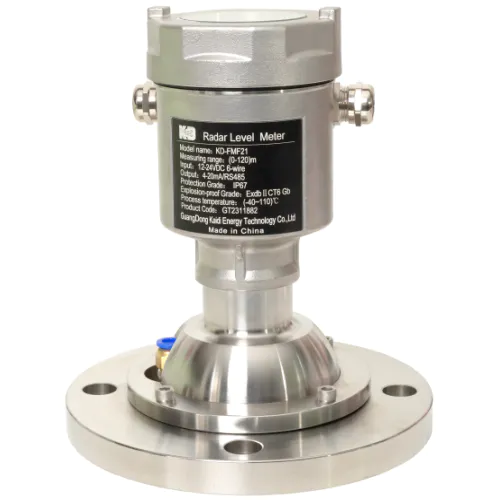
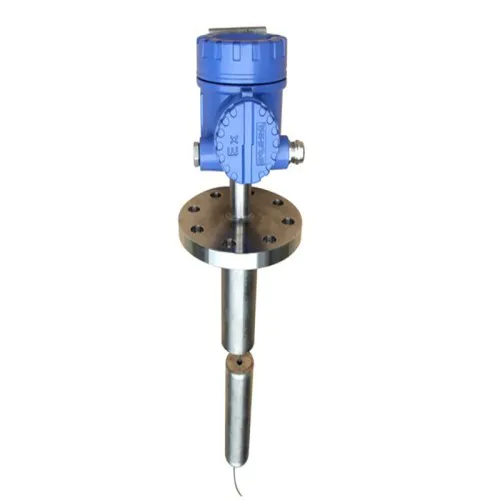
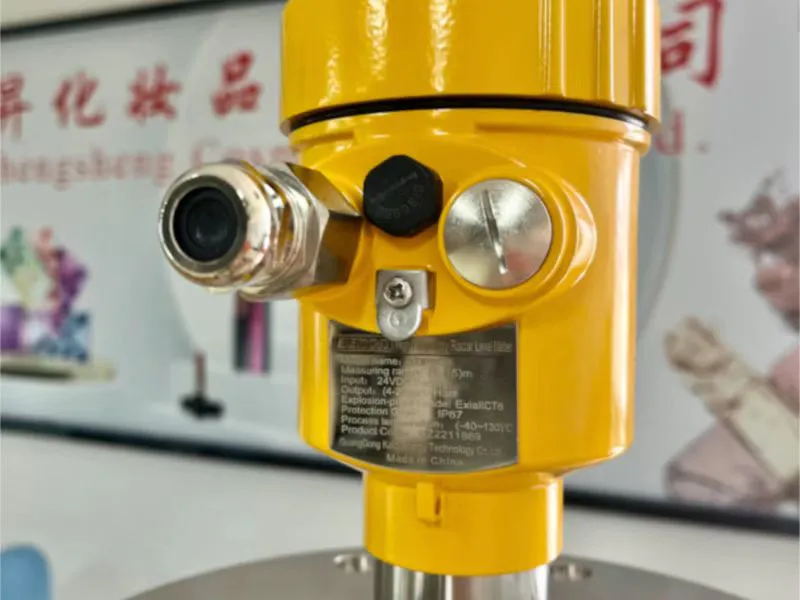
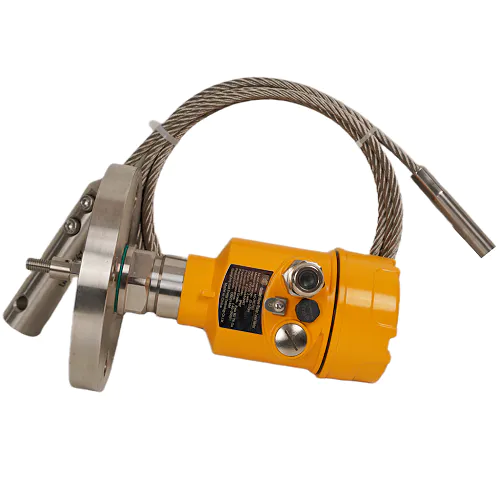
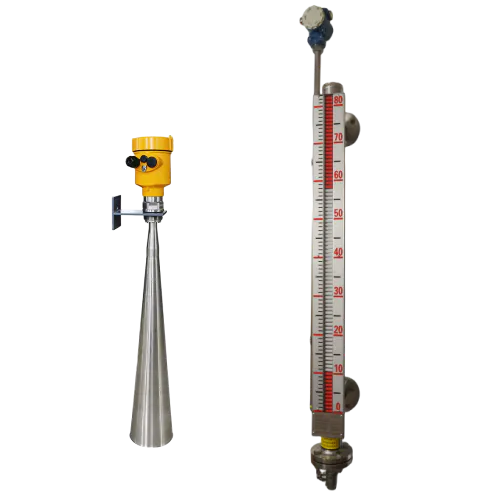
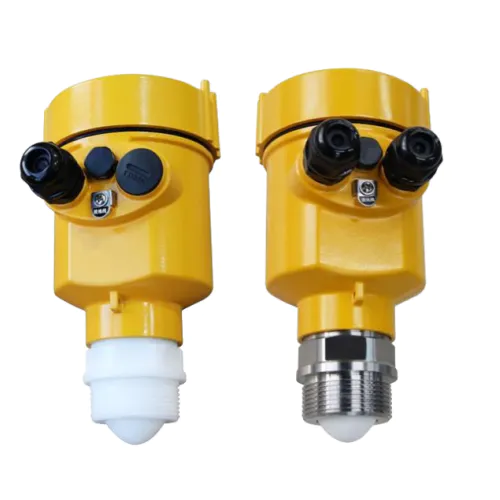
radar level gauge must be properly installed and debugged in order to obtain a good measurement effect. The following are the installation steps and precautions of the radar level gauge: 1. If it is to measure liquid, it is best to choose 1/2 of the tank radius for opening. The installation location Choose a location that is easy to install wiring, and to facilitate subsequent disassembly. The distance between the instrument and the tank wall should be ensured not less than 200mm. 2. There should be no obstacles in the beam angle of the antenna microwave emission, so the installation should avoid the facilities in the tank as much as possible, such as: people ladders, limit switches, heating equipment, brackets, etc. If it cannot be avoided, 'level confirmation' is required during installation. 3. The microwave beam emitted by the antenna needs to be kept away from the feed stream. The highest material level of the material to be measured is lower than the blind area of the instrument, and the distance between the end of the antenna and the surface of the medium should be at least 50mm to ensure that the material does not contaminate the antenna. 4. For liquid measurement, the installation of the instrument should ensure that the antenna is perpendicular to the surface of the measured medium. For solid measurement, try to ensure that the antenna is perpendicular to the surface of the measured medium. Instruments installed in explosion-proof areas must comply with the national installation regulations for explosion-proof hazardous areas. The choice of the position of the radar level gauge: When installing, it is best to choose the opening at 1/2R. The top of the tank is an arched tank, and the instrument should not be installed in the center. 26Ghz meter and tank wall keep at least 200mm distance or 1/10H whichever is larger. For cone-bottom flat-top containers, the best installation position of the instrument is the top center of the container, so as to ensure the maximum measurement distance of the instrument. If the instrument is installed outdoors or in a humid and steamy environment, in order to prevent moisture, the cable gland should be tightened and the cable at the inlet should be bent downward. It must be ensured that the antenna end protruding from the container riser shall not be less than 10mm. If the length of the antenna is less than the height of the on-site vessel riser, an antenna extension tube must be used. Use the antenna extension tube to ensure that the end of the horn antenna protrudes from the bottom of the riser>The installation position of the 10mm meter should be as far away from the feed port as possible. Adjust the orientation of the horn antenna through the gimbal of the instrument so that the angle between the horn antenna and the measured medium level is as vertical as possible. This increases the strength of the echoes. To ensure that the wave-emitting part of the antenna is exposed at least 20mm from the bottom of the container riser, the plastic horn antenna can be fixed on the corresponding flange hole through the appropriate flange. Precautions when installing the radar level meter 1. Do not install the device at the feed inlet, feed curtain, vortex, etc. The measured object will generate false echoes with partial amplitude when it is injected, resulting in inaccurate data. The vortex will cause irregular liquid level, affect the scattering of microwave signal, cause signal weakening, and lead to incorrect data, so pay attention. 2. The installed container is equipped with a stirrer, which will generate irregular vortices during stirring, which will cause signal attenuation, and the blades on the stirrer will also reflect microwave signals, resulting in false data. Especially when the object to be measured, the relative permittivity of the object is small and the liquid level is low, the agitator has a serious impact on the data detected by the device. Therefore, the installation of the radar level gauge should avoid the vicinity of the agitator. 3. In the face of corrosive and crystallized objects and liquids, in order to prevent the
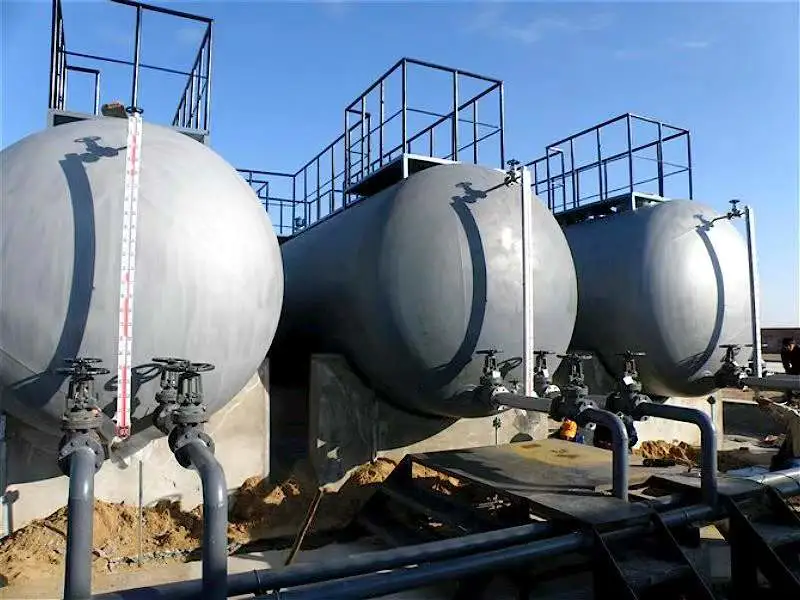
sensor of the radar level gauge from being affected, an instrument model equipped with a PTFE protective film and a split flange structure is generally used. However, the high temperature resistance of the parts is not too high, and the polytetrafluoroethylene can only reach 200 °C. Therefore, in order to avoid the influence of the measurement data due to the parts, the installation requires a certain safety distance between the flange end face and the liquid level. Radar level gauge. 4. If the installed container is a concave or conical shape, be sure to pay attention to the position where the radar beam should reach the low point of the container when debugging. If the liquid level of the measured object is lower than the low point recorded by the radar beam, it will not be possible to Measurement, so the installation is to adjust the low point position as much as possible to ensure the correctness of the measurement data. Radar level gauge operation steps: Before the process of opening the storage tank, it must be clearly acknowledged that there is no pressure in the tank and no harmful medium. It should be clearly recognized that the positioning and debugging are carried out under the working condition that the empty tank in the vessel or the material level just covers the bottom of the tank, and the positioning debugging can also be carried out under the working condition of less material level; the echo of the radar level gauge can be stored through false echo storage. Signals are optimized. Rotate the flange mark by one hole, or turn the turnbuckle 1/8 turn, pay attention to the return amplitude, then rotate the flange or turnbuckle until the end of one turn, and locate at the best position of the echo signal. Fix the flange in the optimal position or tighten the turnbuckle, if necessary, change the tight sealing ring.
Guangdong Kaidi Energy Technology Co., Ltd. shows how effective market design can encourage participation, reduce gaming, and aggregate information, in order to improve liquidity, efficiency, and equity in markets.
If level gauge isn't meeting your needs, or you just want to see what else is out there, check out these content monitoring alternatives Kaidi level indicator.
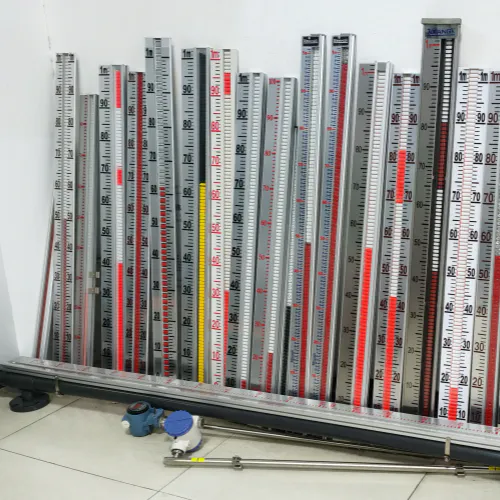
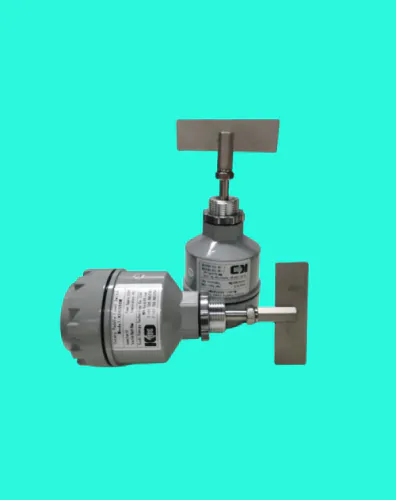
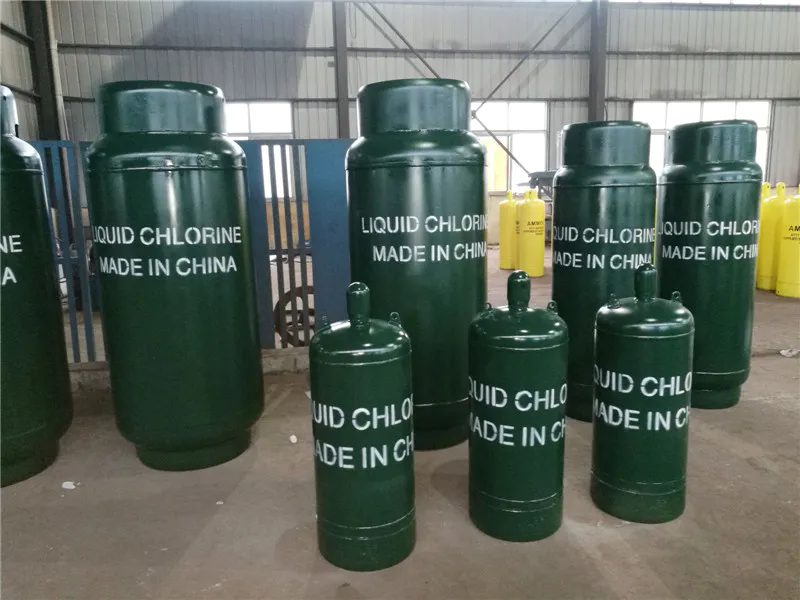
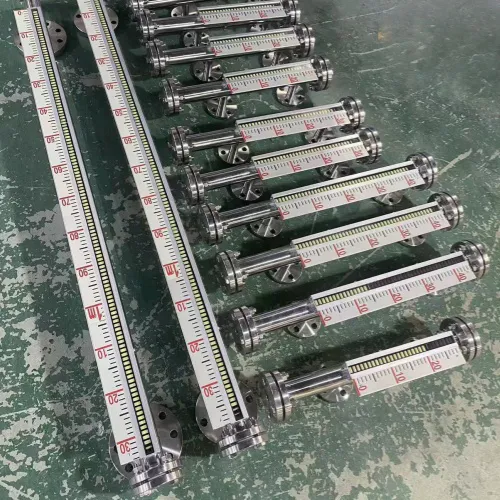
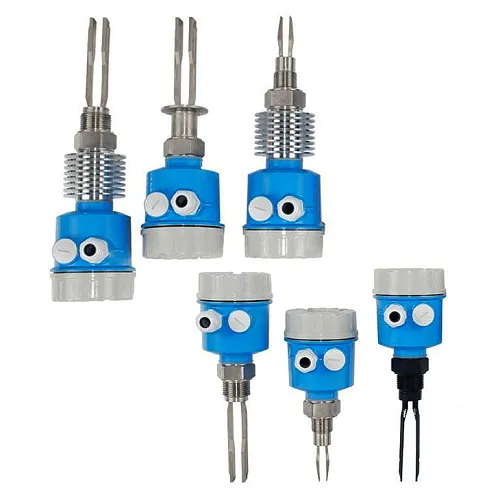
customized level indicator level gauge are used largely for customized level indicator such as customized level indicator.
 Español
  pусский
  العربية
  Português