How to use the side-mounted magnetic flap
level gauge correctly? 1. The cross-sectional area of the core wire between the supporting remote
level transmitter and the secondary instrument should be greater than 0.8mm2. When it is laid in parallel with the AC power supply, at least a distance of more than 20 cm should be maintained. Lay through iron pipes, or use shielded two-core cables, and the shielding layer can only be grounded at one end. 2. The liquid level controller is selected, and its contact capacity is designed with resistive load. For example, if non-resistive or high-power load is used, an intermediate relay should be used for conversion. 3. A cut-off valve is installed between the side-mounted magnetic flap liquid level gauge and the upper and lower liquid distribution pipes of the tested container to open or assemble the liquid level gauge. On the other hand, it is convenient for the maintenance of the liquid level. When the upper and lower shut-off valves are closed, the drain flange at the bottom of the level gauge can be opened or the drain screw can be removed, and the main body of the level gauge can be cleaned by injecting clean water. 4. The 'sinking distance' of the side-mounted magnetic flap level gauge must be understood by users. This parameter is related to the density of the medium. According to the principle of buoyancy, the length of the float assembly is related to the density of the medium. Therefore, it must be selected and designed. Consider that different media have different detailed parameters. 5. The side-mounted magnetic flap level gauge should not use this level gauge when the liquid medium contains suspended impurities and magnetophilic substances (because these impurities will cause jamming of the float assembly) no matter what kind of magnetic flap As long as the level gauge can learn how to use it correctly and apply it reasonably, it will definitely play its role. The correct installation method of the magnetic flap level gauge As the usage rate of the magnetic flap level gauge is increasing, users hope that its operating capacity can be used more efficiently. Therefore, users are required to correctly grasp the installation method of the magnetic flap level gauge. The specific steps are as follows: 1. When the upper and lower shut-off valves are closed, open the drain flange at the bottom of the level gauge or remove the drain screw and inject The main body of the level gauge can be cleaned with clean water. 2. When installing the liquid level gauge, the verticality of the center line of the flange is ∠4‰. When the measuring range of the liquid level gauge is greater than 3 meters, it is necessary to consider adding a middle reinforced flange (or ear climbing) as a fixed support to increase the strength. 3. The cross-sectional area of the core wire between the supporting remote level gauge transmitter and the secondary instrument should be greater than 0.8mm2. When laying in parallel with the AC power supply, at least a distance of more than 20 cm should be maintained. Lay through iron pipes, or use shielded two-core cables, and the shielding layer can only be grounded at one end. 4. The liquid level controller is selected, and its contact capacity is designed with resistive load. For example, if non-resistive or high-power load is used, an intermediate relay should be used for conversion. 5. When the liquid medium contains suspended impurities and magnetophilic substances, it is not suitable to use this level gauge (because these impurities will cause blockage to the float assembly) 6. 'L1' in the outline structure diagram is a side-mounted level gauge The user must understand that this parameter is related to the density of the medium. According to the principle of buoyancy, the length of the float assembly is related to the density of the medium. Therefore, different media must be considered for reference when selecting and designing. Important steps for the installation, use and maintenance of the magnetic flap level gauge: 1. The magnetic flap level gauge must be installed vertically to ensure that the float assembly can move up and down freely in the main tube. 2. It is best to install a shut-off valve between the container and the level gauge, so as to clean and repair the level gauge to cut off the material. 3. No magnets are allowed to approach around the main body of the level gauge, otherwise it will directly affect the normal operation of the level gauge. 4. After the liquid level gauge is installed, it needs to be calibrated with magnetic steel, and the column is guided once so that it displays red below the zero position and white above the zero position. 5. When the liquid level gauge is put into operation, the valve of the lower drain pipe should be opened first to allow the liquid medium to enter the main pipe smoothly, so as to prevent the liquid medium from rising rapidly with the floating ball assembly, which will cause the column to turn black and the heart to fail or turn over randomly (if this phenomenon occurs After the rise and fall of the liquid level is stable, the magnetic steel can be used to recalibrate) 6. In order not to damage the float assembly during transportation, the float assembly should be taken out of the main body of the small liquid level gauge before leaving the factory. After the liquid level gauge is installed, open the bottom drain flange, and then re-install the float assembly into the main pipe. Note that the heavier end of the float assembly is upward and cannot be installed upside down. 7. According to the medium conditions, the sewage flange can be opened regularly to clean the sediment in the main pipe. Maintenance and maintenance of the magnetic flap level gauge 1. Magnetically conductive substances are not allowed to approach the body of the magnetic flap level gauge, and iron wire fixing is prohibited, otherwise it will affect the normal operation of the magnetic flap level gauge; 2. If the user himself When using heat tracing pipes, non-magnetic conductive materials, such as red copper pipes, must be selected. The heat tracing temperature is determined according to the medium; 3. The magnetic flap level gauge must be installed vertically, and a ball valve should be installed between the magnetic flap level gauge and the container lead pipe to facilitate maintenance and cleaning; 4. The medium should not contain solid impurities or magnetic material, so as not to block the float; 5. Before use, the small ball below the zero position should be set to red with a calibration magnet, and the other balls to be white; 6. Open the bottom flange,Install the magnetic float (Note: the heavy end with the magnetic end is upward, and cannot be installed upside down.); 7. During debugging, the upper lead pipe valve should be opened first, and then the lower valve should be opened slowly to allow the medium to enter the main pipe smoothly (the medium should be avoided during operation. Rapidly impact the float, causing the float to fluctuate dramatically, affecting the accuracy of the display), observe whether the magnetic red and white balls flip normally, then close the lower lead pipe valve, open the drain valve, and let the liquid level in the main pipe drop. If it is normal, it can be put into operation (except for corrosive and other special liquids); 8. According to the conditions of the medium, the main pipe should be cleaned irregularly to remove impurities
This is an internationally recognized standard which acts as a form of guarantee that everything Guangdong Kaidi Energy Technology Co., Ltd. does is managed to the highest quality standards.
To know more about and the market trends, go to Kaidi level indicator.
Guangdong Kaidi Energy Technology Co., Ltd. are trained to think about problems and coming up with solutions, as well as presenting the whole idea in a logical and coherent manner.
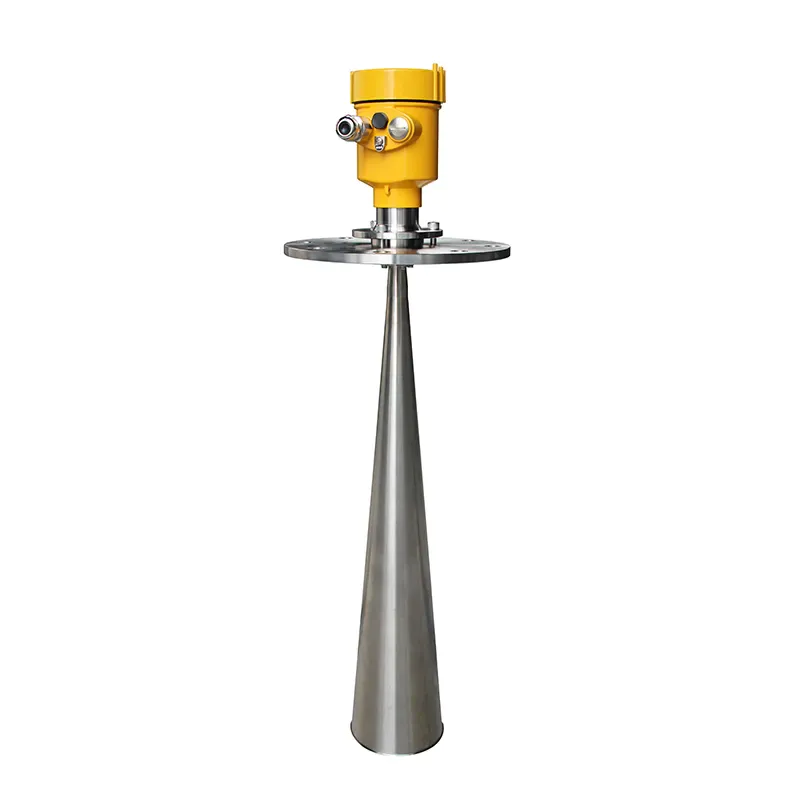
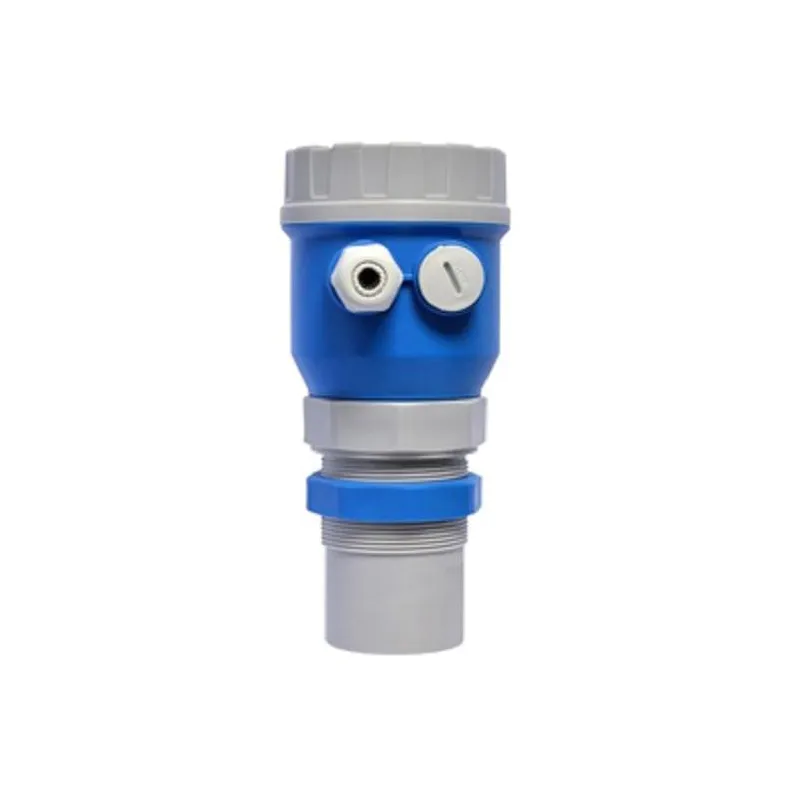
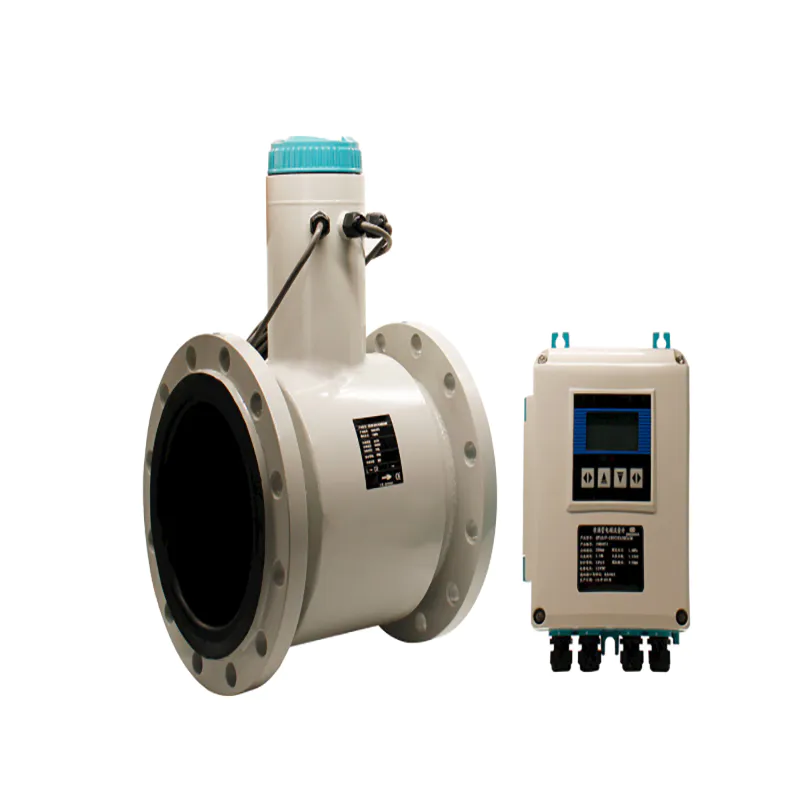
So, what's a manufacturer to do? Familiarize ourselves with producing level gauge in various technologies.
 Español
  pусский
  العربية
  Português