 Español
  pусский
  العربية
  Português
BETTER TOUCH BETTER BUSINESS
Contact Sales at KAIDI level gauge manufacturer.
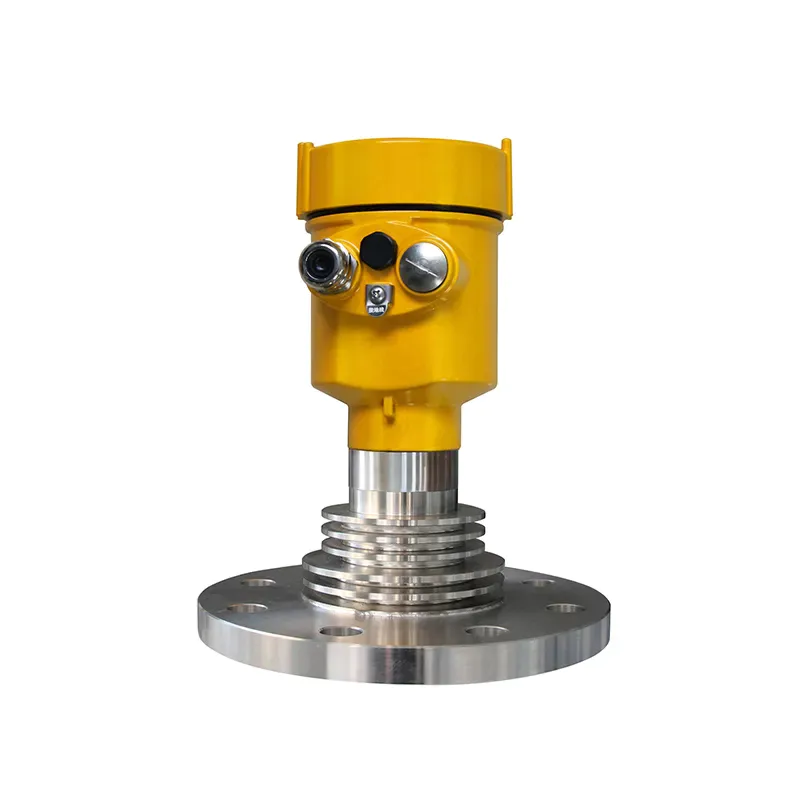
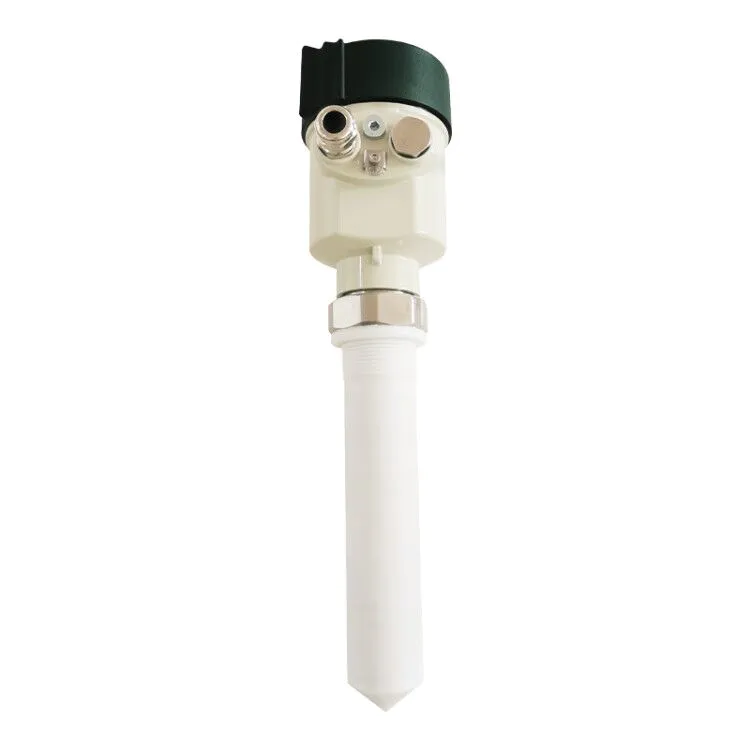
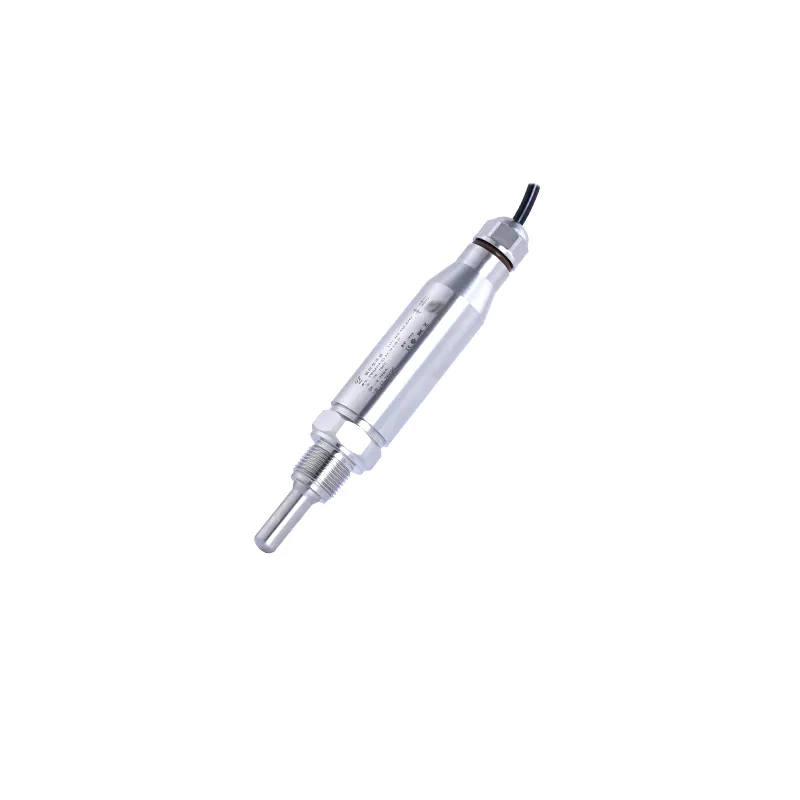
High-Temperature Float Switches: Installation and Maintenance Guide
Introduction
Float switches are widely used in industrial and commercial applications to monitor and control liquid levels in tanks, wells, and other vessels. When it comes to high-temperature environments, specialized float switches become necessary to ensure reliable performance and longevity. This installation and maintenance guide will provide you with essential information on the proper installation, operation, and upkeep of high-temperature float switches.
I. Understanding High-Temperature Float Switches
High-temperature float switches are designed to withstand elevated temperatures, often reaching up to 300 degrees Celsius or more. They feature robust construction materials such as stainless steel or ceramics to prevent deterioration or malfunction due to extreme heat. These switches are commonly utilized in industrial processes such as chemical manufacturing, metal heat treatment, and oil refining.
II. Factors to Consider During Installation
1. Temperature Range
Before installing high-temperature float switches, it is crucial to determine the specific temperature range they will be exposed to. Ensure that the switch's specifications align with the maximum temperature of your system to guarantee optimal performance and avoid damage.
2. Environmental Conditions
Apart from temperature, it is important to consider other environmental factors such as humidity, pressure, and corrosive substances. High-temperature float switches may require additional protection, such as insulation or coating, to withstand harsh conditions.
3. Mounting Options
Different mounting options are available for float switches, including side mounting, top mounting, or bottom mounting. Evaluate your system's requirements and choose the mounting option that offers the most convenient access for installation, adjustment, and maintenance.
4. Electrical Connections
High-temperature float switches typically require electrical connections to accurately monitor and control liquid levels. Ensure that the power supply meets the switch's voltage and current requirements and engage a certified electrician for proper installation, adherence to safety protocols, and compliance with electrical codes.
III. Installation Guidelines
1. Preparation
Before installation, thoroughly clean the vessel or tank where the switch will be placed. Remove any debris, residue, or contaminants that could interfere with the switch's operation. Ensure that the tank is empty and adequately cooled down before starting the installation process.
2. Secure Mounting
Based on your chosen mounting option, secure the float switch in its designated position. Use appropriate hardware such as brackets or clamps to ensure stability and prevent unwanted movement. Double-check the alignment and positioning to guarantee accurate level monitoring.
3. Wiring
Follow the manufacturer's wiring diagram to connect the float switch to the control panel or monitoring system. Use appropriate electrical connectors and ensure proper insulation to avoid any short circuits or damage due to exposure to high temperatures.
4. Calibration
After installation, it is essential to calibrate the float switch according to your specific system requirements. This calibration process involves adjusting the switch's sensitivity or point of actuation to accurately detect high and low liquid levels. Consult the manufacturer's guidelines or seek expert assistance for this step if needed.
IV. Maintenance Tips and Best Practices
1. Regular Visual Inspection
Perform regular visual inspections to identify any signs of wear, damage, or corrosion on the float switch. If any issues are detected, promptly replace the switch or the affected components to maintain proper functioning.
2. Cleaning Procedures
Depending on the type of liquid being monitored, deposition or accumulation may occur on the switch. Regularly clean the float switch using appropriate cleaning agents or solvents recommended by the manufacturer. Avoid using abrasive materials that could damage the switch's surface.
3. Periodic Testing
Conduct periodic testing of the float switch to ensure its continued functionality. Activate the switch manually or simulate liquid level changes to verify its response and accuracy. This testing helps detect any drift, deviations, or failure in the switch's performance promptly.
4. Maintenance Schedule
Establish a maintenance schedule for your high-temperature float switch. This schedule should include periodic cleaning, testing, and replacement of worn-out parts as needed. Adhering to a consistent maintenance routine will extend the lifespan of the switch and reduce the risk of unexpected failures.
Conclusion
High-temperature float switches play a critical role in monitoring and controlling liquid levels in demanding industrial applications. By following the installation and maintenance guidelines provided in this article, you can ensure the proper functioning and longevity of these specialized switches. Remember to consider temperature range, environmental conditions, and mounting options during installation, and perform regular maintenance to keep your high-temperature float switches operating at their best.
We are here to help you! If you close the chatbox, you will automatically receive a response from us via email. Please be sure to leave your contact details so that we can better assist

